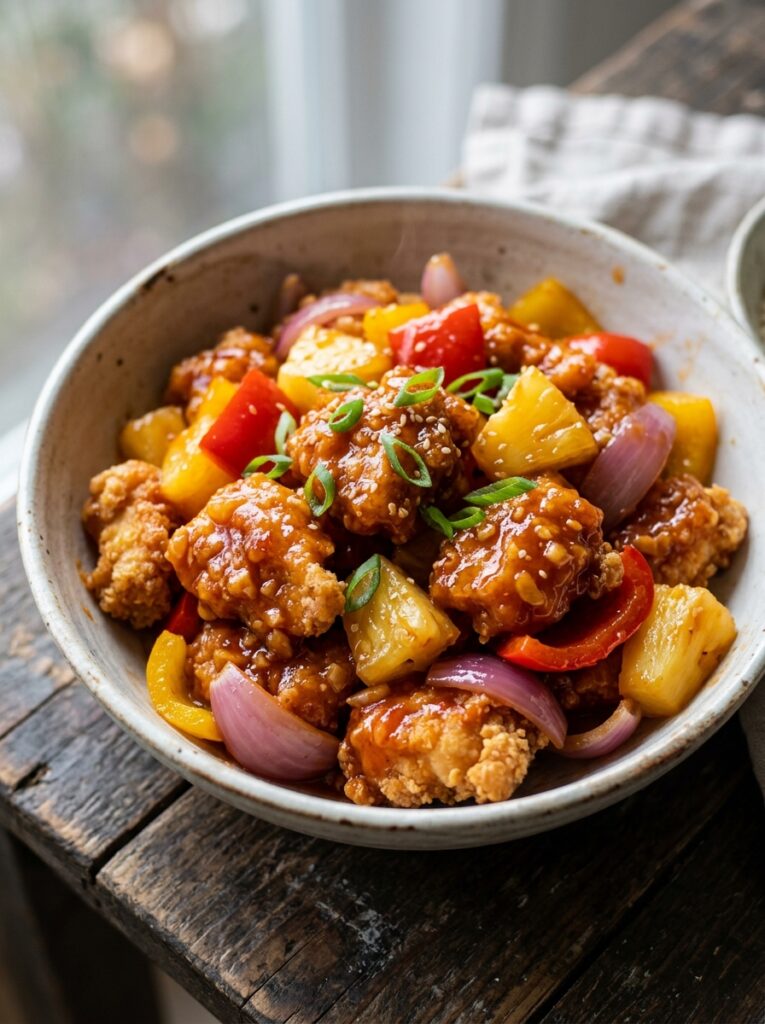
Sweet and sour chicken breast crispy is a homemade Chinese takeout classic featuring bite-sized chicken with a tangy glaze. This recipe uses boneless, skinless chicken breast, a light cornstarch coating, and a balanced sweet-and-sour sauce for maximum crunch. It delivers bold flavor and a satisfying texture that surpasses most restaurant versions, and you can get it on the table in about 35 minutes.
| Prep Time | Cook Time | Total Time | Servings | Difficulty | Cuisine |
|---|---|---|---|---|---|
| 15 minutes | 20 minutes | 35 minutes | 4 | Easy | Chinese-American |
Why This Sweet and sour chicken breast crispy Works
This sweet and sour chicken breast crispy works because it focuses on texture and balanced sauce while keeping the chicken juicy. I use a two-step coating of cornstarch and a light egg slurry, then fry until the exterior is very crisp without drying the meat. The sauce coats each piece with a glossy, tangy-sweet glaze that clings instead of pooling, which maintains the crunch.
The flavor is bright, with rice vinegar, ketchup, soy sauce, and a hint of brown sugar creating a classic profile that complements the fried chicken. Pineapple adds natural sweetness and acidity, while bell peppers and onion bring fresh crunch and aroma. This sweet and sour chicken breast crispy tastes exactly like your favorite takeout, but it is fresher and made with simple pantry staples.
Home cooks will appreciate the reliability of this method, which is forgiving and repeatable. There are no specialty ingredients, the steps are straightforward, and the sauce comes together in minutes. You can easily scale the sweet and sour chicken breast crispy for meal prep or a family dinner without sacrificing quality.
If you enjoy similar dishes, try our crispy orange chicken and garlic soy chicken stir fry for more weeknight options. The same cooking techniques work across Asian-inspired chicken recipes.
Sweet and sour chicken breast crispy Ingredients
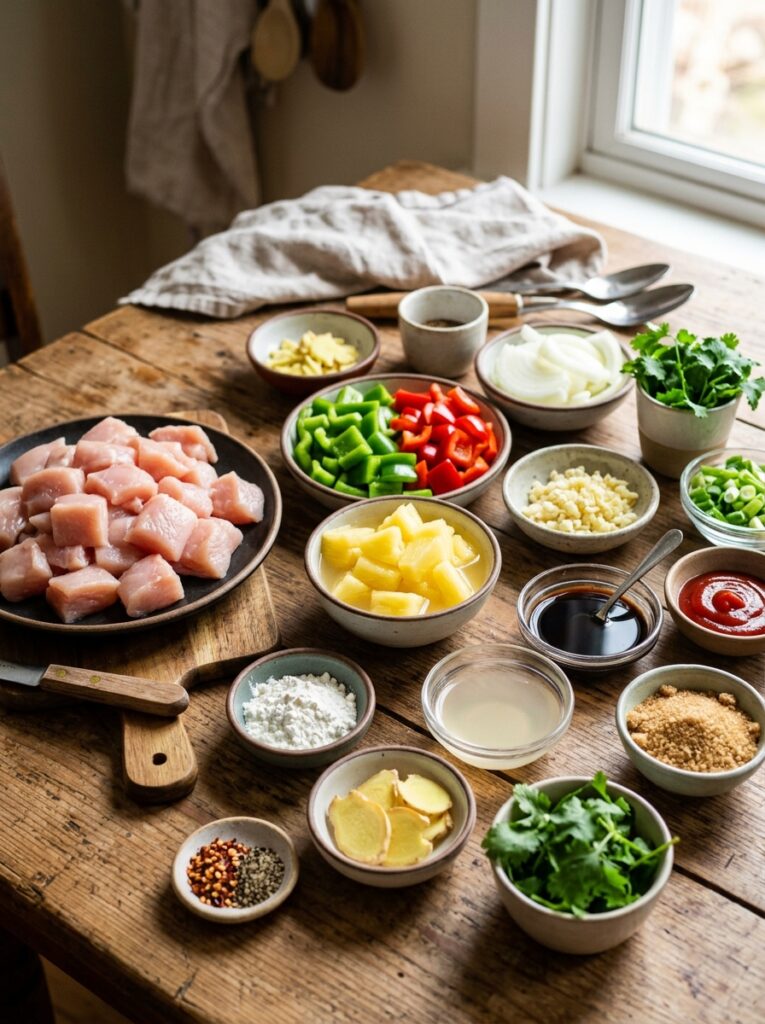
Below are the ingredients you need to make sweet and sour chicken breast crispy with bold flavor and a crackly crust. Quality choices matter, so use fresh produce, low-sodium soy sauce, and a neutral oil with a high smoke point.
| Ingredient | Quantity | Notes with alternatives |
|---|---|---|
| Chicken breast | 1.5 pounds, bite-size pieces | Use chicken thighs for juicier meat; for gluten-free, verify soy sauce is gluten-free. |
| Cornstarch | 1/2 cup | Creates a crisp coating; substitute with potato starch if needed. |
| Neutral oil | 3 cups for frying | Use canola, peanut, or sunflower oil; avocado oil works too. |
| Eggs | 2 large, beaten | Bind the coating; for egg-free, use 2 tablespoons cornstarch mixed with 1/3 cup water. |
| Soy sauce | 2 tablespoons | Use low-sodium for better salt control; tamari for gluten-free option. |
| Rice vinegar | 1/3 cup | Provides tang; white vinegar can substitute in a pinch. |
| Ketchup | 1/3 cup | Adds body and color; tomato paste plus a little sugar is an alternative. |
| Brown sugar | 2 tablespoons | Balance the acidity; adjust to taste or use honey. |
| Pineapple chunks | 1 cup, fresh or canned | Drain canned pineapple; use fresh for brighter flavor. |
| Red bell pepper | 1 large, diced | Green or yellow bell peppers also work for color variation. |
| Onion | 1 medium, diced | Yellow or white onion preferred; shallots add a milder taste. |
| Garlic | 3 cloves, minced | Use fresh garlic for best aroma; garlic powder works if needed. |
| Ginger | 1 teaspoon, grated | Fresh ginger is ideal; ground ginger at half the amount is acceptable. |
| Cornstarch slurry | 1 tablespoon cornstarch + 2 tablespoons water | Thickens the sauce; arrowroot starch is a gluten-free alternative. |
| Green onions | 2, sliced | For garnish; chives can be used as a substitute. |
| Sesame seeds | 1 teaspoon, optional | For garnish; toasted sesame oil drizzle adds extra flavor. |
How to Make Sweet and sour chicken breast crispy
Follow these steps to make sweet and sour chicken breast crispy at home with a crackly crust and a glossy, tangy sauce. Each step is designed for beginner cooks and consistent results.
Prep the Chicken and Coating
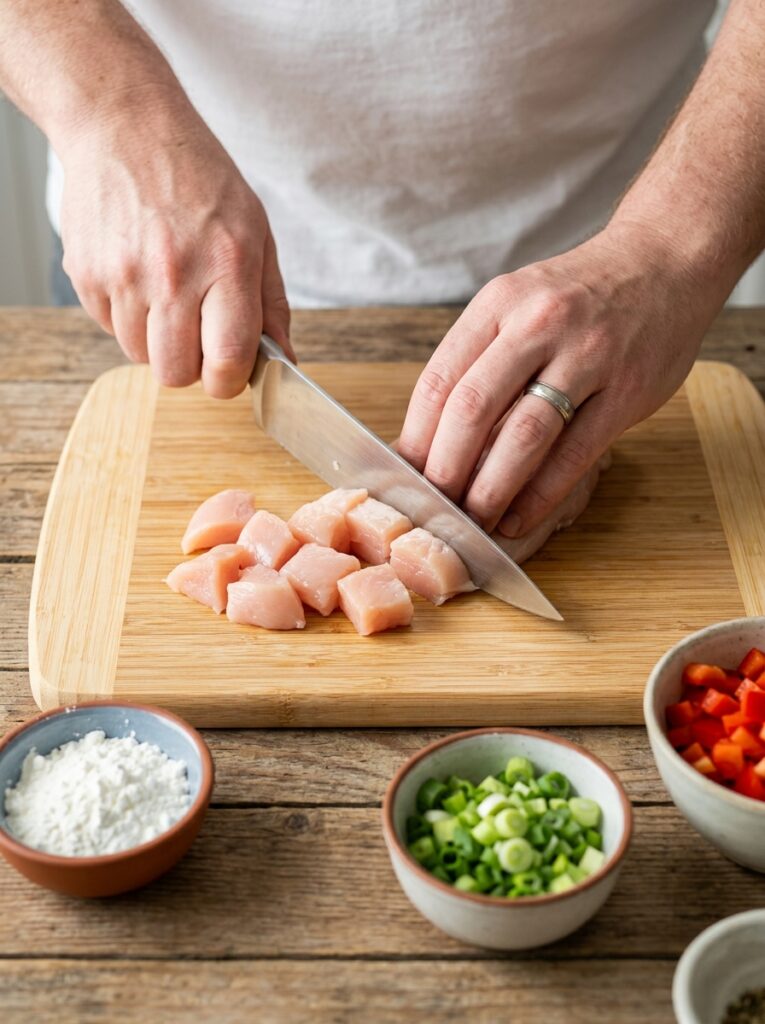
- Pat the chicken pieces dry and season lightly with salt and pepper to remove excess moisture.
- Whisk the eggs and soy sauce in a bowl, then add chicken and toss to coat evenly.
- Place cornstarch in a large bowl, add the chicken, and toss until each piece is well coated.
- Let the coated chicken rest for 5 minutes to help the coating adhere and reduce shedding.
Fry for Maximum Crispness
- Heat neutral oil in a deep skillet or wok to 350°F (175°C) and maintain the temperature.
- Fry the chicken in small batches, turning until golden and crisp, about 4 to 5 minutes per batch.
- Transfer fried chicken to a rack over a sheet pan to keep the crust dry and crunchy.
- Repeat with remaining chicken, adjusting heat as needed to avoid oil temperature drops.
Make the Sweet and Sour Sauce
- Combine ketchup, brown sugar, rice vinegar, and 1/4 cup water in a saucepan over medium heat.
- Stir in garlic and ginger, then simmer for 2 to 3 minutes until the flavors meld and the mixture thickens slightly.
- Pour in the cornstarch slurry and stir until the sauce is glossy and coats the back of a spoon.
- Add pineapple chunks and diced bell pepper, then simmer 1 more minute to retain crunch.
Assemble and Serve
- Return fried chicken to the pan or add to a mixing bowl, then pour sauce over the pieces.
- Toss gently to coat evenly, taking care not to break the crust.
- Garnish with green onions and sesame seeds, and serve immediately over steamed rice.
Chef Tips for Perfect Sweet and sour chicken breast crispy
Use these chef tips to nail sweet and sour chicken breast crispy every time with consistent texture and flavor.
- Keep oil temperature steady near 350°F; use a thermometer and fry in small batches to prevent temperature drops that cause soggy crusts.
- Rest the coated chicken for a few minutes before frying; this helps the coating adhere and improves the crunch of the sweet and sour chicken breast crispy.
- Work quickly when tossing the fried chicken with the sauce; serving immediately preserves maximum crispness in the sweet and sour chicken breast crispy.
- Balance the sauce to your taste by adjusting sugar and vinegar; add a splash more vinegar for extra tang or a pinch of salt to round flavors.
- Vegetable sizes matter; cut peppers and onions small so they stay crisp and complement the sweet and sour chicken breast crispy without steaming.
Common Sweet and sour chicken breast crispy Mistakes to Avoid
Avoid these common mistakes to ensure your sweet and sour chicken breast crispy stays crisp, flavorful, and evenly cooked.
- Crowding the pan during frying leads to a temperature drop and greasy chicken; fry in small batches and hold finished pieces on a rack for the sweet and sour chicken breast crispy.
- Skipping the dry step for chicken causes the coating to slip off; pat thoroughly and use a binder like egg or cornstarch slurry for a secure crust on the sweet and sour chicken breast crispy.
- Overthickening the sauce makes it sticky and heavy; use a light cornstarch slurry and toss just enough to coat the sweet and sour chicken breast crispy.
- Adding pineapple too early can make it mushy; stir it in at the end to maintain bright acidity and texture in the sweet and sour chicken breast crispy.
- Overcooking the chicken after frying makes it dry; rely on quick frying, then toss with warm sauce for the sweet and sour chicken breast crispy.
Best Sweet and sour chicken breast crispy Variations and Substitutions
Try these variations and substitutions to customize sweet and sour chicken breast crispy while keeping the classic profile.
| Ingredient | Substitution | Impact on Flavor |
|---|---|---|
| Chicken breast | Chicken thighs | More juicy and rich; slightly higher fat content. |
| Soy sauce | Low-sodium soy sauce or tamari | Better salt control; tamari adds gluten-free option. |
| Brown sugar | Honey or maple syrup | Deeper sweetness; slightly different aroma. |
| Rice vinegar | White vinegar or apple cider vinegar | Sharper tang or fruity notes; adjust to taste. |
| Pineapple | Mango or peach chunks | Distinct tropical sweetness; adjust acidity. |
| Red bell pepper | Green bell pepper | More vegetal, slightly less sweet. |
| Cornstarch | Potato starch or rice flour | Slight differences in crispness; gluten-free friendly. |
| Garlic | Garlic powder | Milder aroma; use less to avoid bitterness. |
Serving Suggestions for Sweet and sour chicken breast crispy
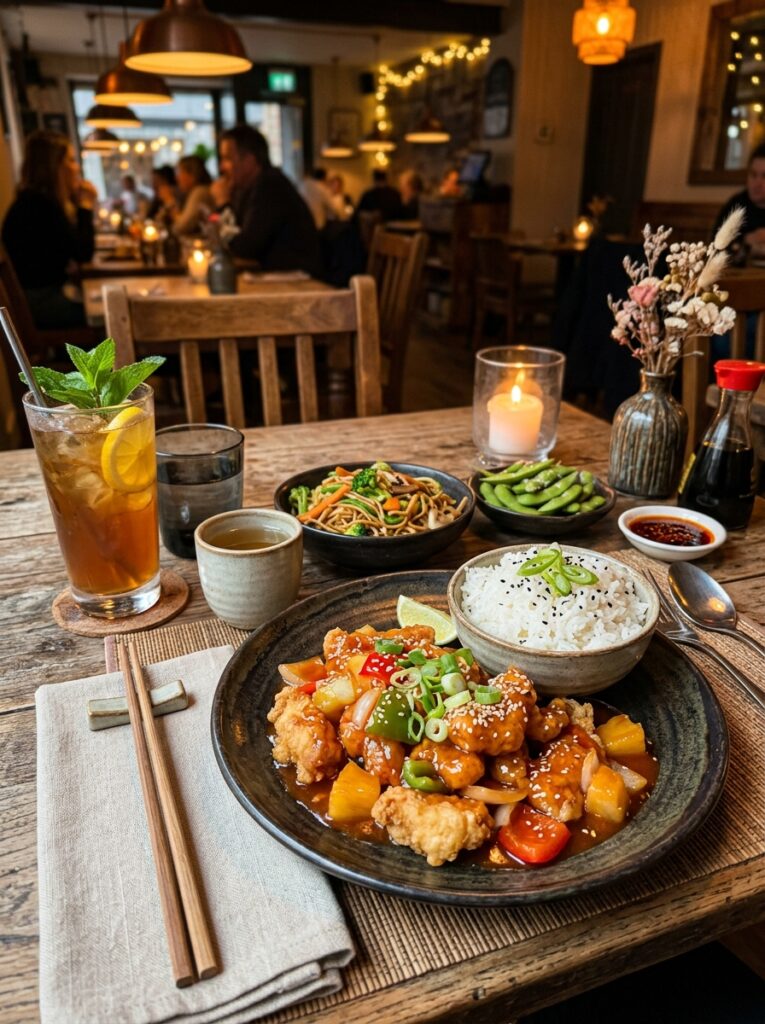
Serve sweet and sour chicken breast crispy with steamed jasmine rice, fried rice, or noodles for a complete meal. Garnish with green onions and sesame seeds, and offer extra sauce on the side for dipping. It works great for weeknight dinners, family gatherings, or meal prep, and pairs well with roasted broccoli, sautéed green beans, or a crisp Asian slaw.
For beverages, try iced jasmine tea or a citrusy sparkling water to complement the tangy sauce. If you want more ideas, explore easy Asian chicken recipes for additional dinner inspiration. The sweet and sour chicken breast crispy also shines at potlucks and holiday meals when served family-style.
Storage and Reheating for Sweet and sour chicken breast crispy
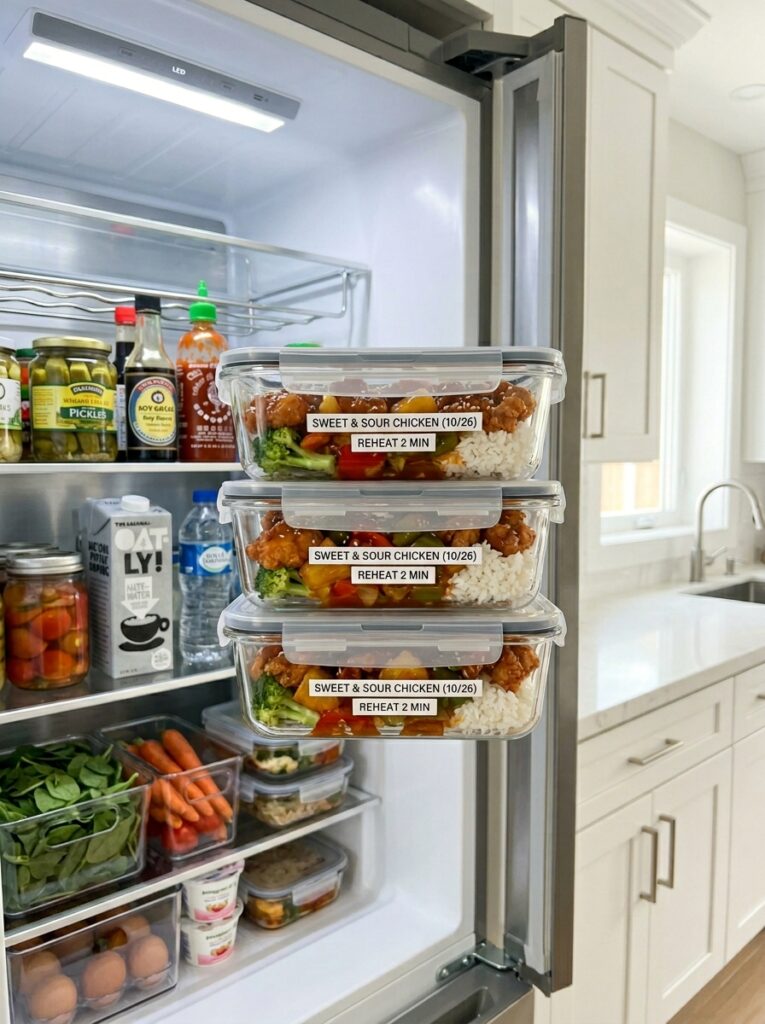
Proper storage and reheating keep sweet and sour chicken breast crispy tasting fresh and maintaining texture.
| Method | Duration | Instructions |
|---|---|---|
| Refrigerator | 3 to 4 days | Store chicken and sauce separately to keep the crust crisp; use airtight containers. |
| Freezer | 1 to 2 months | Freeze fried chicken pieces on a tray, then transfer to bags; freeze sauce separately. |
| Reheating | 10 to 12 minutes | Air fry at 375°F or bake at 400°F until hot; toss with fresh sauce after reheating. |
| Make-ahead | Up to 1 day | Fry chicken, cool completely, store in the fridge, then reheat and add sauce before serving. |
| Food safety | Follow guidelines | Cool quickly, label containers, and avoid leaving cooked chicken at room temperature over two hours. |
Nutritional Information for Sweet and sour chicken breast crispy
The values below are approximate per serving and can vary based on brands, oil absorption, and portion size.
| Nutrient | Amount per Serving |
|---|---|
| Calories | 520 |
| Protein | 32 g |
| Fat | 24 g |
| Carbohydrates | 42 g |
| Fiber | 3 g |
| Sugar | 20 g |
| Sodium | 720 mg |
Frequently Asked Questions About Sweet and sour chicken breast crispy
Can I make sweet and sour chicken breast crispy gluten-free?
Yes, you can make this recipe gluten-free by using tamari instead of soy sauce and cornstarch or potato starch for coating. Verify that your ketchup and vinegar are gluten-free as well. The sweet and sour chicken breast crispy will taste identical while meeting gluten-free needs.
How do I know when the chicken is done and safe to eat?
Cook the chicken until the internal temperature reaches 165°F (74°C) and the crust is golden brown. Use a thermometer for accuracy, as color alone does not guarantee doneness. Rest the fried pieces briefly before saucing to keep them juicy in the sweet and sour chicken breast crispy.
Why is my coating not sticking to the chicken?
Moisture on the surface prevents the coating from adhering, so pat the chicken dry before breading. Use an egg or cornstarch slurry as a binder and let the coated chicken rest before frying. This ensures a secure crust on the sweet and sour chicken breast crispy.
Can I prepare sweet and sour chicken breast crispy ahead of time?
Yes, fry the chicken and store it in the refrigerator for up to one day, then reheat and toss with fresh sauce. For best results, store the sauce separately and reheat the chicken in an air fryer or oven. This preserves the signature crunch of the sweet and sour chicken breast crispy.
What side dishes pair best with this recipe?
Steamed jasmine rice, fried rice, and lo mein noodles pair well with sweet and sour chicken breast crispy. Add roasted broccoli, sautéed green beans, or an Asian slaw for extra vegetables. A light cucumber salad or quick pickled vegetables also complement the tangy sauce.
How long can sweet and sour chicken breast crispy be stored safely?
Refrigerate for up to 3 to 4 days and freeze for up to 1 to 2 months when stored properly. Keep chicken and sauce separate to avoid a soggy crust, and reheat in the oven or air fryer. Label containers and follow food safety guidelines for the sweet and sour chicken breast crispy.
What is the best way to reheat without losing crispness?
Air fry at 375°F for 8 to 10 minutes or bake at 400°F for 10 to 12 minutes until hot and crisp. Avoid microwaving, as steam softens the crust; if necessary, microwave briefly and finish in a hot pan. Toss with fresh sauce after reheating the sweet and sour chicken breast crispy.
Can I freeze sweet and sour chicken breast crispy after cooking?
Yes, freeze fried chicken pieces on a tray, then transfer to airtight bags or containers for up to 2 months. Freeze the sauce separately to prevent sogginess when reheating. Thaw in the refrigerator and reheat in the oven or air fryer for best results with sweet and sour chicken breast crispy.
What flavor variations can I try for the sauce?
Try adding a splash of orange juice, a bit more brown sugar, or a pinch of red pepper flakes for heat. You can also use honey or maple syrup instead of sugar for a deeper sweetness. These tweaks keep the sweet and sour chicken breast crispy interesting while staying true to its profile.
What tips help beginners make this recipe successfully?
Use a thermometer to maintain oil temperature and fry in small batches for even crispness. Pat the chicken dry, let the coating rest, and toss the fried pieces with the sauce immediately before serving. Follow the step-by-step method above, and you will master sweet and sour chicken breast crispy quickly.
For additional food safety guidance, see USDA Food Safety and for nutrition details visit Nutrition.gov.
This sweet and sour chicken breast crispy recipe delivers a crackly crust, juicy chicken, and a tangy glaze that clings to every bite. Make it once and you will return to it for weeknights, meal prep, and family dinners, and remember the signature crunch and balanced sweet-and-sour flavor that make it irresistible.
Print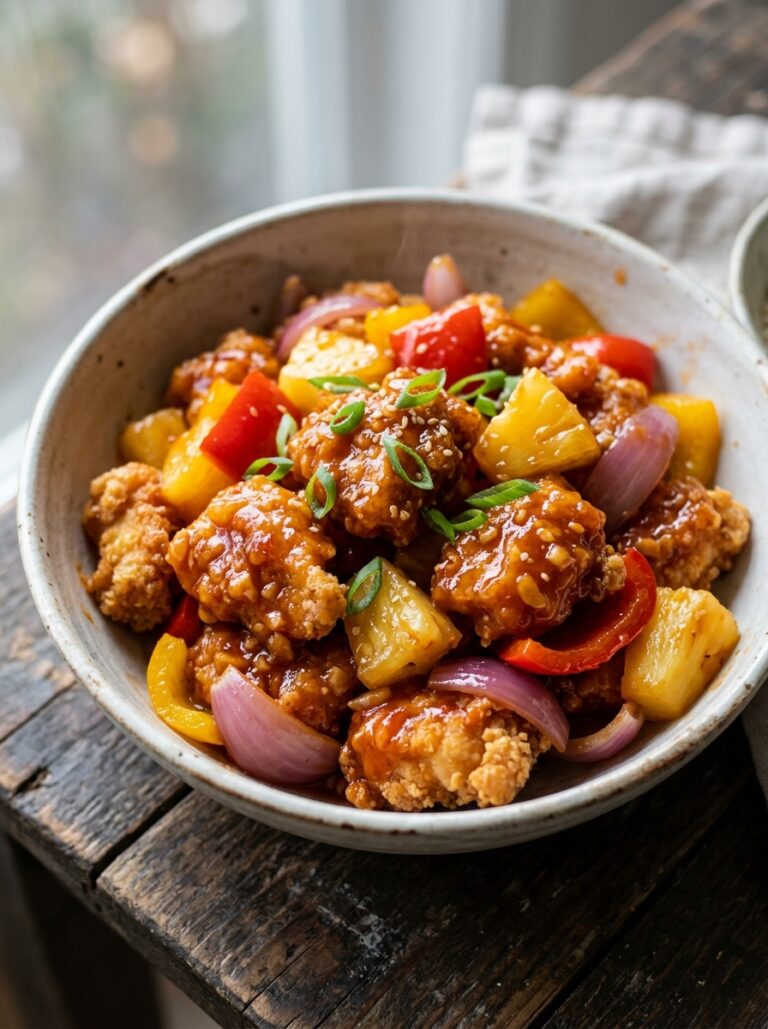
Sweet and Sour Chicken Breast Crispy
Crispy, juicy chicken breast coated in cornstarch and fried to perfection, blanketed in a tangy sweet-and-sour glaze. Fresh bell peppers, pineapple, and onions add delightful crunch and brightness, ready in under 35 minutes.
- Total Time: 35
- Yield: 4 servings 1x
Ingredients
2 boneless, skinless chicken breasts (about 1 lb total)
1/4 cup cornstarch
1 tbsp soy sauce
cooking oil (for frying)
1/2 cup ketchup
4 tbsp rice vinegar
2 tbsp brown sugar
1 tbsp cornstarch (for sauce)
1/2 cup pineapple chunks
1/2 small onion, sliced
1/4 red bell pepper, julienned
1 clove garlic, minced
minced fresh ginger (1 tsp)
egg (optional, for slurry, if desired)
Instructions
Pat chicken dry; cut into 1-inch strips. Toss with cornstarch to coat.
Heat oil in a pan over medium-high; cook chicken until golden and crisp (5-6 minutes per side). Remove and set aside.
In the same pan, stir-fry onion, bell pepper, pineapple, garlic, and ginger until tender.
Combine ketchup, rice vinegar, brown sugar, soy sauce, and cornstarch in a bowl. Cook sauce until thickened.
Toss crispy chicken with sauce until fully coated. Serve warm with white rice.
Notes
For extra crunch, freeze chicken strips for 10-15 minutes before frying.
Adjust sweetness by reducing sugar to taste.
Substitute pineapple with apple or pear for a twist.
Store leftovers in an airtight container for up to 2 days (sauce may soften crust).
- Prep Time: 15
- Cook Time: 20
- Category: Mediterranean Basics
- Method: Frying
- Cuisine: Chinese-American
- Diet: Gluten-Free (if using certified gluten-free soy sauce)
Nutrition
- Serving Size: 1 serving
- Calories: 380
- Sugar: 18g
- Sodium: 2400mg
- Fat: 14g
- Saturated Fat: 2.5g
- Carbohydrates: 32g
- Fiber: 2g
- Protein: 22g
- Cholesterol: 110mg